Tissue paper gets underestimated. Most people think of it as decoration – something you stuff into a gift bag to make it look finished. In reality, when used correctly, it serves a genuine protective function, and for many product types it’s the most appropriate first layer of packaging before anything else goes around the item.
Here’s how to actually use it well.
What Tissue Paper Is For in Packaging
Tissue paper does two things in a packaging context.
The first is surface protection. The soft fibres create a barrier between your product and anything it might contact – other items in the same box, the box walls, or outer wrapping materials. For products with finishes that mark easily – candles, ceramics, lacquered surfaces, polished metalwork, garments – this contact layer matters more than most people realise. A product that arrives with a scuff or a pressure mark from its own packaging is still a damaged product.
The second is presentation. How a parcel opens is part of the customer experience, particularly for retail and e-commerce brands where the unboxing moment shapes how the buyer perceives the product and the business. Tissue paper is one of the most cost-effective ways to elevate that moment – a neatly wrapped item inside a box communicates care and intentionality in a way that bare product sitting loose in cardboard simply doesn’t.
These two functions work together. The wrapping that protects the surface is the same wrapping that creates the presentation.
How to Wrap Different Product Types
Flat Items – Clothing, Scarves, Linens
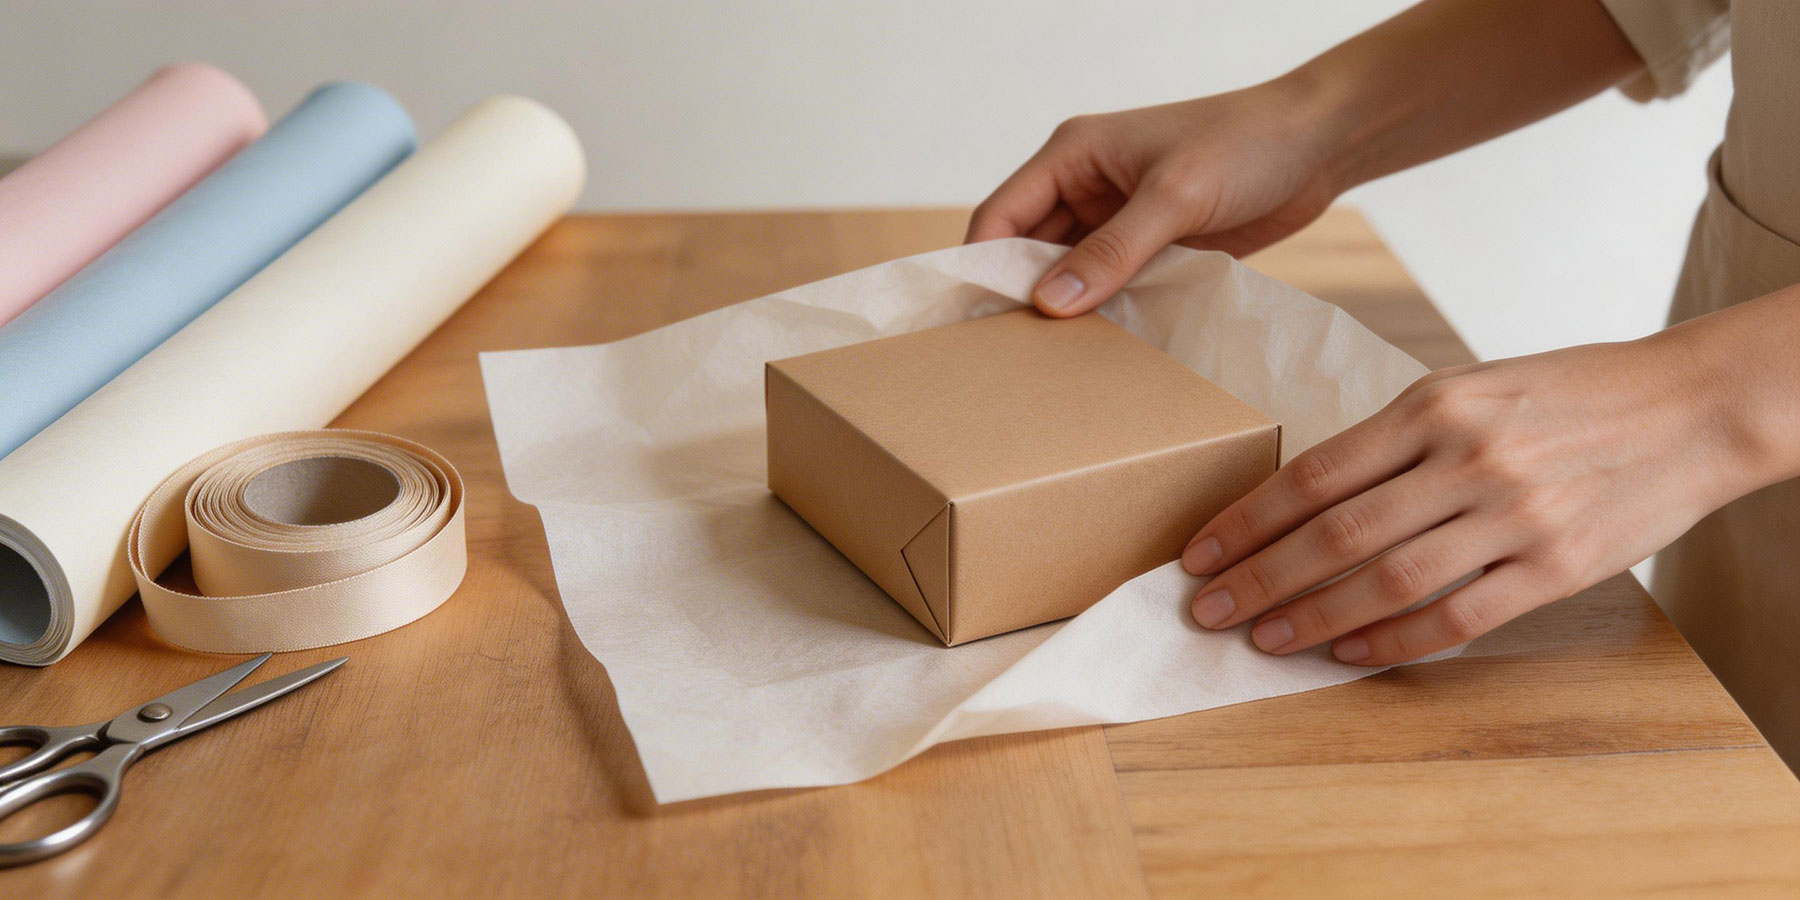
Lay a full sheet of tissue paper flat and place the folded garment in the centre. Fold the sides in first, then fold the top and bottom over to create a neat parcel. For larger garments, use two overlapping sheets rather than stretching a single sheet thin. The goal is complete coverage with no exposed product at the edges.
Boxed or Rectangular Items – Candles, Cosmetics, Homewares
Place the item diagonally in the centre of the sheet, then roll it forward while tucking the sides in as you go – similar to gift wrapping. For items in their own retail box, a single wrap is usually sufficient. For unwrapped items going directly into a mailing box, use two layers to ensure adequate surface protection throughout transit.
Irregular or Fragile Items – Ceramics, Glassware
Crumple a sheet of tissue paper loosely and use it to pad the inside of the box around the item rather than wrapping the item directly. This fills void space and prevents movement without adding pressure to fragile surfaces. For items with protruding elements – handles, spouts, decorative features – wrap those areas individually first before wrapping the whole piece.
Multiple Small Items
Wrap each item individually before placing them together in the same box. Even when items are similar, unwrapped pieces in contact with each other will mark and scratch during transit as the box moves. Individual wrapping takes slightly longer but eliminates that risk entirely.
How Many Layers Do You Need
For surface protection only – soft goods, pre-boxed products, items with durable finishes – a single layer is adequate.
For items with delicate finishes or surfaces that mark easily, use two layers. The outer layer handles contact with other materials; the inner layer stays against the product surface and remains clean and soft throughout transit.
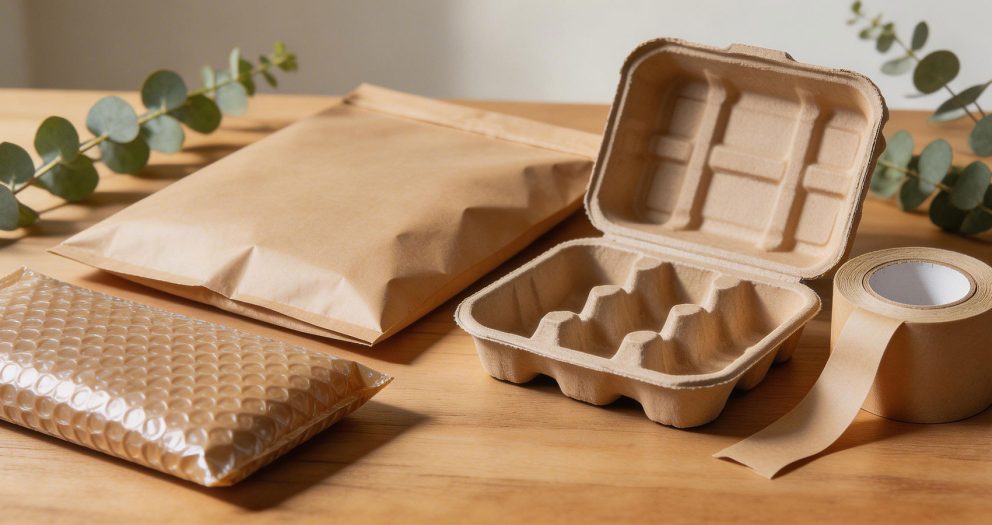
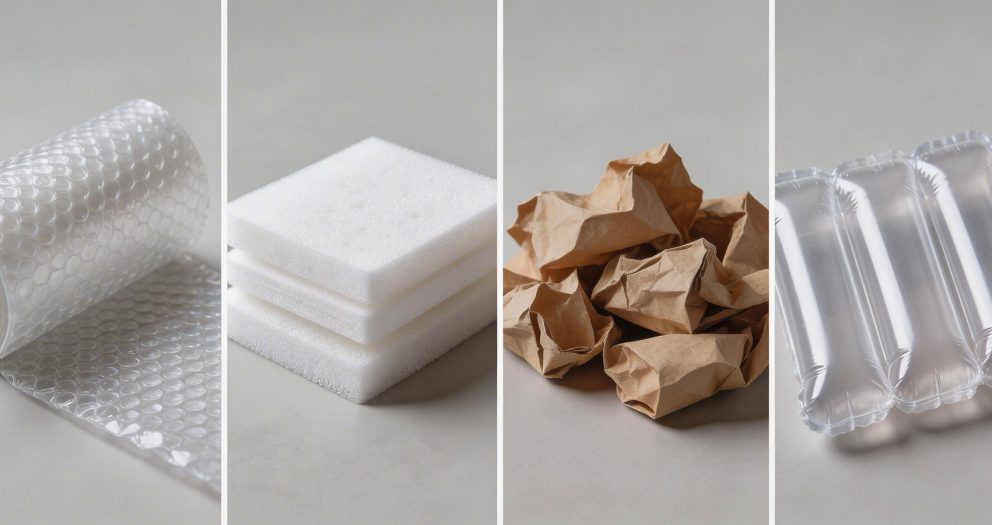
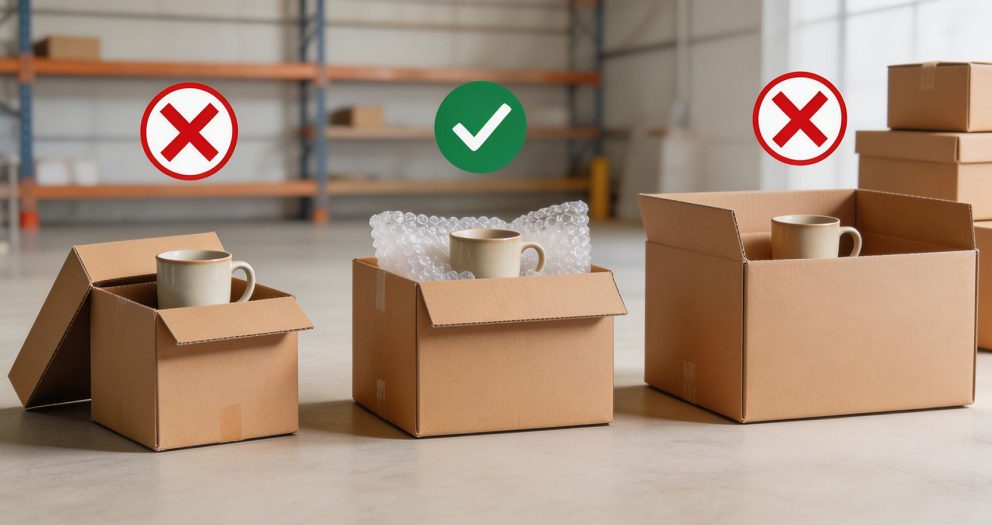
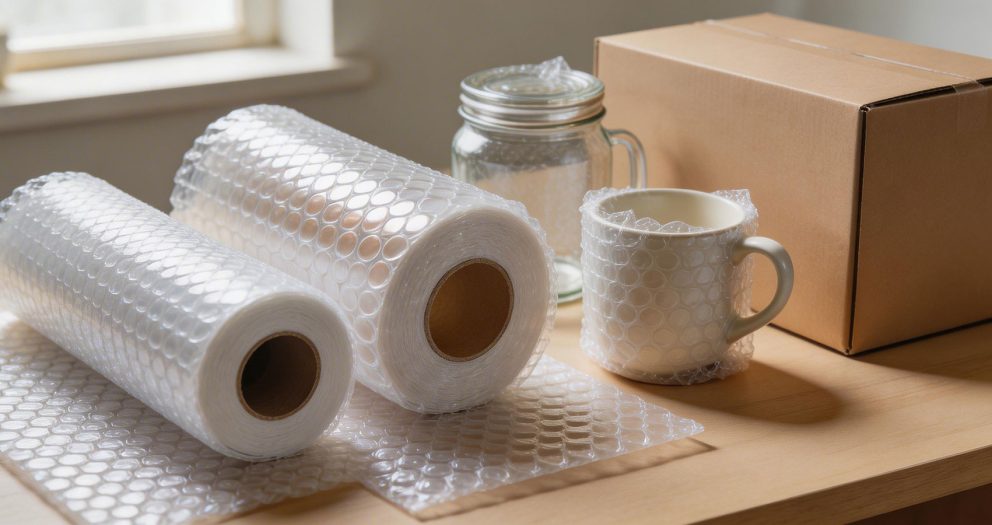
Tissue paper is not a cushioning material. It will not absorb impact energy in any meaningful way. If your product needs drop protection, tissue paper should be used as a surface layer with bubble wrap or foam wrap providing the cushioning around it. Treating tissue paper as a substitute for proper protective packaging is one of the more common causes of transit damage for fragile items.
Colour and Finish Choices
White tissue paper is the default for most applications – it’s neutral, it photographs cleanly, and it works with any product or brand aesthetic.
Coloured tissue paper lets you incorporate your brand palette directly into the packaging. If your business has established brand colours, matching or complementing them in the tissue paper creates a more cohesive unboxing experience. It’s a small detail that consistently-performing retail brands tend to get right.
A practical note: coloured tissue paper, particularly darker shades, can transfer dye onto light-coloured or moisture-sensitive products under pressure or in humid conditions. If this is a risk for your products, use white tissue as the inner contact layer and coloured tissue as an outer decorative wrap.
When Tissue Paper Isn’t Enough
Tissue paper is the right tool for surface protection and presentation. It is not the right tool for cushioning, void fill, or protecting items against significant impact.
If you’re shipping anything fragile, heavy, or high in value, tissue paper should be part of a layered approach: tissue against the product surface, bubble wrap or foam wrap around that for cushioning, and proper void fill in the box to prevent movement. Each material does a specific job. Tissue paper does its job well – as long as you’re not asking it to do someone else’s job too.
For businesses packing at volume, tissue paper is available in bulk reams that bring the per-sheet cost down significantly. Stanley Packaging dispatches orders within one business day, and the team is available on (03) 8795 7876 if you need help working out quantities for your packing operation.